Asian Braised Green Beans

10 minute side dish, Asian, Green beans, meal plans, Paleo

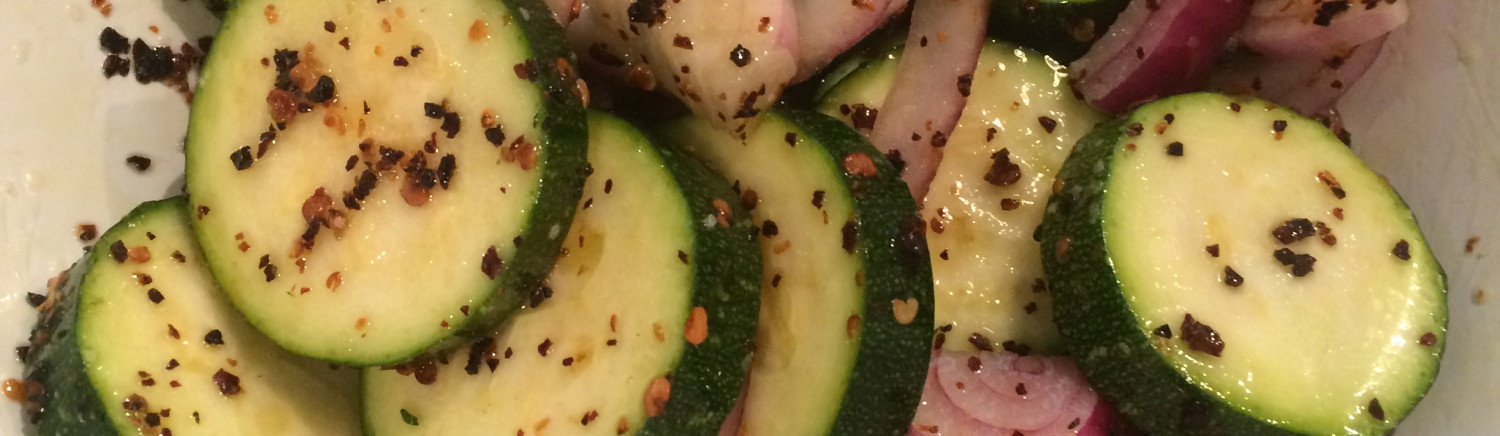
With a little effort you can make side dishes more interesting, especially when you’re buying what’s in season. That ensures that your vegetables have reached their peak freshness and availability. Click here for a complete list of Florida vegetables by season.

On Wednesday I shared my Sautéed Spinach and Goat Cheese recipe, and I hope it encouraged you to pick up some of that inexpensive leafy green. It may seem a little flavorless, but by adding some fresh garlic and a touch of goat cheese, my family and I happily ate six cups of spinach last night.

Today I want to share my Asian Braised Green Beans because March brings tender snap beans (a.k.a. green beans). The key to this recipe is high heat. You want to almost blister the beans so that they cook fast without losing their crispinesIMG_0387s. This is a delicious side item that works great with teriyaki chicken, steak or pork.

My go-to marinade is Veri Veri Teriyaki, and you should let your protein marinate for at least an hour and up to 24 hours before cooking. Then toss it onto a hot grill but be careful because most teriyaki marinades can cause excessive flames. Tip – use a piece of foil with cooking spray between your meat and grates. You will still get grill marks but won’t char your meat. 


Ingredients

2 tablespoons vegetable or peanut oilIMG_0385

2 tablespoons vegetable or peanut oil

1 tablespoon sesame oil

1-2 tablespoons of fresh ginger, finely chopped

1-2 tablespoons of garlic, finely chopped

1 pound green beans, ends trimmed

1/4 teaspoon hot red pepper flakes

1/4 cup low-sodium soy sauce


Cooking

Heat wok or skillet over medium-high heat. Add the oils and heat for 1 minute. Add the garlic and ginger and sauté for 2 minutes. Add the green beans and red pepper flakes, and continue to sauté for 5 minutes. Carefully add the soy sauce and cook for 2 more minutes, stirring continually. Turn off the heat and serve immediately or keep covered until you’re ready to eat.


IMG_0390     IMG_0395     IMG_0402

Sautéed Spinach with Goat Cheese

10 minute side dish, food, Paleo, side dish, Spinach, tips, vegetables

In Florida, spinach and snap beans (a.k.a. green beans) reach their peak in March so you can buy a lot for a little bit of money (click here for a complete list of Florida vegetables by season). Both spinach and snap beans make healthy side dishes but sometimes we need inspiration to create something different. Steamed green beans get boring, and I don’t know about you, but I can only eat so much spinach in my salads.

Don’t let your side dishes end up as an obligatory sidekick to your meal’s main element. Instead, look for ways to doctor up the usual to create something new. The key to side dishes is that they can’t take up a lot of time. They are SIDE dishes, after all. But that doesn’t mean they can’t be fulfilling and add a satisfying element to your meal.

Below I’ve included a 10-minute recipe for spinach sautéed with garlic and goat cheese. It’s simple to prepare and is a great way to use all that spinach you picked up at the farmers market or store. Don’t forget that spinach shrinks dramatically as it cooks, so be prepared to use at least six to eight cups to feed four people.

I paired this luscious side dish with a grilled New York strip steak. I didn’t even miss eating the roasted potatoes I made my husband because the spinach had plenty of fulfilling flavor. Check back later this week to get another 10-minute side dish that’s perfect for a Paleo-inspired diet.

IMG_0364


Ingredients

2 tablespoons olive oilIMG_0348

2 garlic cloves, minced

1/4 cup onion, minced

1/4 teaspoon kosher salt

1/4 teaspoon white or black pepper

2 oz. goat cheese (use 1/4 oz. per cup of spinach)

6-8 cups fresh spinach

Cooking

Using a deep skillet or shallow pot, sauté garlic and onion in olive oil over medium-high heat for 3 minutes. Add the spinach and stir so every leaf is coated with the hot oil. Season with salt and pepper. Add cheese in chunks and gently combine. Turn off heat, cover, and let sit for 2 minutes. Stir again and serve immediately.

IMG_0351     IMG_0352     IMG_0356

Fee-fi-Pho-YUM!

Chicken, kale, Leftovers, Paleo, soup, Swiss chard, vegetables

I’ve wanted to lighten things up a bit this week, so I decided to try the Chicken Pho recipe out of my new favorite cookbook, Paleo By Season. Pho (actually pronounced “Fuh”) is a Vietnamese soup consisting of broth, herbs and meat. I’ve seen it served with noodles, but since I’m  trying to cut my carbohydrates, this recipe doesn’t include them.

The key to this dish is the delicious broth. I’m not asking you to make your own “stock” but take the time to make the pho broth below. The delicate flavors add a depth that you will surely miss if you skip that step. Plus, once the broth is prepared, this meal only takes 10 more minutes before it’s ready to serve.  IMG_0984

Trying out a new recipe also gave me the chance to buy some five-spice powder, which is a blend of anise, cloves, cinnamon, Sichuan peppers and fennel seeds. This spice combination is commonly used in Asian preparation, especially in Chinese cuisine. I’ve seen it referenced in recipes before and luckily it’s readily available at most grocery stores.

I used fresh Swiss chard (a leafy relative of spinach) in this perfect Paleo dish because it was on sale. You can use spinach or even kale, but due to kale’s toughness, you need to cook it longer. I think the Swiss chard is perfect because its flavor and texture are similar to that of bok choy.

I’m also using leftover pulled chicken from the night before. Although it didn’t meet my “Meatless Monday” goal, its simplicity is a nice way to start off the week. This soup makes me feel like I’m reversing some of my previous weekend fun (I’m glad you can’t see my recycling bin!), and it encourages me to eat light to feel light.


Pho Broth

Ingredients  IMG_0939

1 small yellow onion with only the outer skin removed, cut in half

1 (2-inch) piece of fresh ginger, unpeeled

1 tablespoon five-spice powder

1 jalapeno, halved and seeded

8 cups chicken broth


Cooking

Broil onion and ginger in either the oven, grill or toaster oven for 20 minutes, slightly charring them. You want to make sure the outside of the onion and ginger turn brown. Place them with the halved jalapeno and five-spice powder in a pot and cover with the chicken broth. Bring to a boil, reduce heat and simmer for 20 minutes. Remove the onion, jalapeno and ginger from the broth and discard. Use the broth immediately or cover for later.

IMG_0940           IMG_0944


Chicken Pho

Ingredients   IMG_0966

Pho broth (see above)

1-1/2 to 2 cups pulled chicken

1 cup thinly sliced carrots

1/2 cup thinly sliced radish

1 cup white or button mushrooms, quartered

2 cups Swiss chard, spine removed IMG_0957

1 teaspoon sesame oil

1 small jalapeno pepper, thinly sliced for garnish (optional)

1/2 cup cilantro leaves, for garnish (optional)

3 tablespoons green onions, thinly sliced for garnish (optional)

1 lime, cut into wedges


Cooking

Bring pho broth to a simmer over medium heat. Once it’s at a gentle simmer, add the carrots, radishes, mushrooms, and Swiss chard. Cook for 8 minutes. Stir in the sesame oil. Divide chicken among 4 bowls and top with broth and vegetables. Squeeze a wedge of lime over each bowl and use garnishes of your choice.

IMG_0973    IMG_0979   IMG_0985


Winter Vegetable Medley

Leftovers, Paleo, roasting, side dish, sunday supper, tips, vegetables

Parsnips and butternut squash abound this time of year, but it can be hard to come up with ideas to incorporate them. Most people haven’t cooked parsnips before and aren’t sure where to start. Parsnips look somewhat like white carrots, and you peel them the same way, but they have a distinct root vegetable flavor.

I am always trying to find ways to reduce the starches and incrIMG_0483ease the vegetables we eat. Butternut squash is one of those wonderful vegetables that has a similar texture and taste of a sweet potato, but isn’t as sugary. It doesn’t get stringy or watery like other types of squash sometimes do, so it really stands up to roasting.

With a couple of Yukon gold potatoes, these winter vegetables bake together and caramelize nicely. Even children don’t seem to notice how many vegetables they’re enjoying, so that’s another win when feeding a family.

This side dish recipe easily feeds four to six people. I was only serving three, so I wound up with enough left over for the next night. It’s really nice to have a significant part of today’s meal already completed. This savory vegetable and potato medley worked great with the pompano fish I grilled last night, and I’m sure it will pair perfectly with roasted lamb chops this evening.


Ingredients

3 garlic cloves, minced

1 shallot, chopped

2 medium Yukon gold potatoes

1 medium butternut squash

4 parsnips

2 teaspoons salt

1 teaspoon thyme

1/2 teaspoon white pepper

1/2 teaspoon garlic powder

3 tablespoons olive oil

3 tablespoons balsamic vinegar


Cooking

Preheat oven to 400 degrees. Peel parsnips like you would peel a carrot, then slice into 1/4-inch slices. Remove the skin from the squash by carefully cutting between the skin and the orange flesh. Then remove the seeds and stringy inside, like you would if you were cleaning out a pumpkin. Then cut squash into 1/2-inch chunks. Cut potatoes into 1/2-inch chunks as well.

IMG_0462

Mix the minced garlic and shallots with the parsnips, squash and potatoes in a large bowl. Add olive oil, salt, garlic powder, white pepper and thyme and stir. Place the medley on a greased cookie sheet in single layer. Bake for 20 minutes and stir.

IMG_0468

Bake for another 15 minutes. Pour balsamic vinegar over the vegetables and gently combine. Cook for 5 more minutes and serve when ready.

IMG_0478

Chicken Enchiladas

Chicken, Leftovers, meal plans, Mexican, sunday supper, tips

I’m not a huge fan of leftovers in their original form, but I enjoy making another meal with the remainders. My chicken enchiladas are a good example of this practice. By using leftover shredded Mexican chicken, I can throw together a meal that looks almost professional. Assembling the enchiladas is easy, and I like to serve them with some yellow rice. Start the rice just before you place the enchiladas in the oven and everything will be done at the same time. Enjoy!

IMG_0156


Supplies You Will Need

9×13 baking dish


Ingredients

1-2 cups leftover Mexican chicken

1-2 cups shredded cheddar cheese

10 oz. can of enchilada sauce (I use Old El Paso)

6-8 tortilla shells from the night before

.5 oz. package of saffron yellow rice


Cooking

Preheat oven to 425°F. Spray baking dish with cooking spray and spread 1/4 cup of enchilada sauce on the bottom.

Carefully assemble the enchiladas by placing 2 to 3 tablespoons of chicken in the center of each tortilla shell. Top with a little cheese and fold one side over the other. Place the enchilada seam side down in the baking dish. Repeat until the pan is full. The enchiladas should touch each other but not be crammed in.

IMG_0136

Bake for 15 minutes. Top with 1/4 cup of enchilada sauce and 1/2 cup of cheese and cook for another 10 minutes until cheese is melted and bubbly. Feel free to top these with any of the traditional taco toppings. Serve with rice and enjoy!

IMG_0147


[FBW]

One Slow Cooker, Two Mexican Meals

Chicken, meal plans, Mexican, Slow cooker, sunday supper, tips

I like all different types of food and do my best to make a good variety of meals. My husband loves Mexican but it’s not always the best choice for our waistlines. However, I’ve found a quick way to make some delicious chicken that can be used in both tacos and enchiladas.

IMG_0124

This shredded Mexican chicken recipe is as simple as it gets, to me anyway. It’s not only easy but it’s pretty healthy. The chicken recipe only uses four main ingredients, so the majority of calories comes from the taco shells and toppings you choose.

This recipe works great on salads too. Add a little cheese, some canned black beans, corn, fresh tomatoes, avocado, a few crumbled taco chips and two tablespoons of salsa. For those of us who need to watch our portions, this is a hearty salad that doesn’t taste like you’re missing anything while the rest of the table gobbles down tacos.

One of the best parts of this recipe is its leftovers. This easily feeds six people and you should still have some remaining. Either eat tacos again the next night, or better yet, try my enchilada recipe. Check back tomorrow to see how to make restaurant-quality enchiladas with the leftover chicken and tortilla shells from the night before and only three more ingredients.


IngredientsIMG_0095

6 chicken breasts

1 large onion, quartered

1 jalapeno pepper, halved

1 cup of your favorite salsa (I prefer “hot” varieties)

1 teaspoon kosher salt

1 teaspoon cuminIMG_0116

(15-20) 8”-12” flour or corn tortillas

Taco toppings of your choice (I suggest shredded cheese, chopped tomatoes, sliced avocado, cilantro and shredded iceberg lettuce)


Cooking

Clean and trim chicken breast to remove any visible fat. Cut each breast in half. Place at the bottom of a greased slow cooker. Top with jalapeno pepper and onion. Sprinkle with salt and cumin. Cover with salsa. Cook on high for 3-4 hours or on low for 6-7 hours.

IMG_0101


Carefully remove the chicken and leave the sauce in the crock pot. Place the chicken on a cutting board and gently shred the chicken with two forks. Remove half of the cooking liquid. Return the shredded chicken to the slow cooker and mix. Serve immediately or keep chicken warm until ready to assemble the tacos.

IMG_0105


*Tip: try heating the tortillas on medium-high heat in a dry pan for 30-45 seconds on each side but be careful not to burn them. This extra step helps keep the tortillas from getting soggy and also adds a nice crisp.


 [FBW]